Beginners Level Knitting
Knitting Baby Blanket👶or Poncho/Throw for Mommy 💃
I've always loved knitting and one of my favorite knitting pattern was/is Garter Stitch pattern that works in vertical stripes. It's one of the most beginner-friendly ways to make a high-end-looking accessory! The "bumpy" texture is the hallmark of the garter stitch makes it look so cozy and wonderfully squishy!
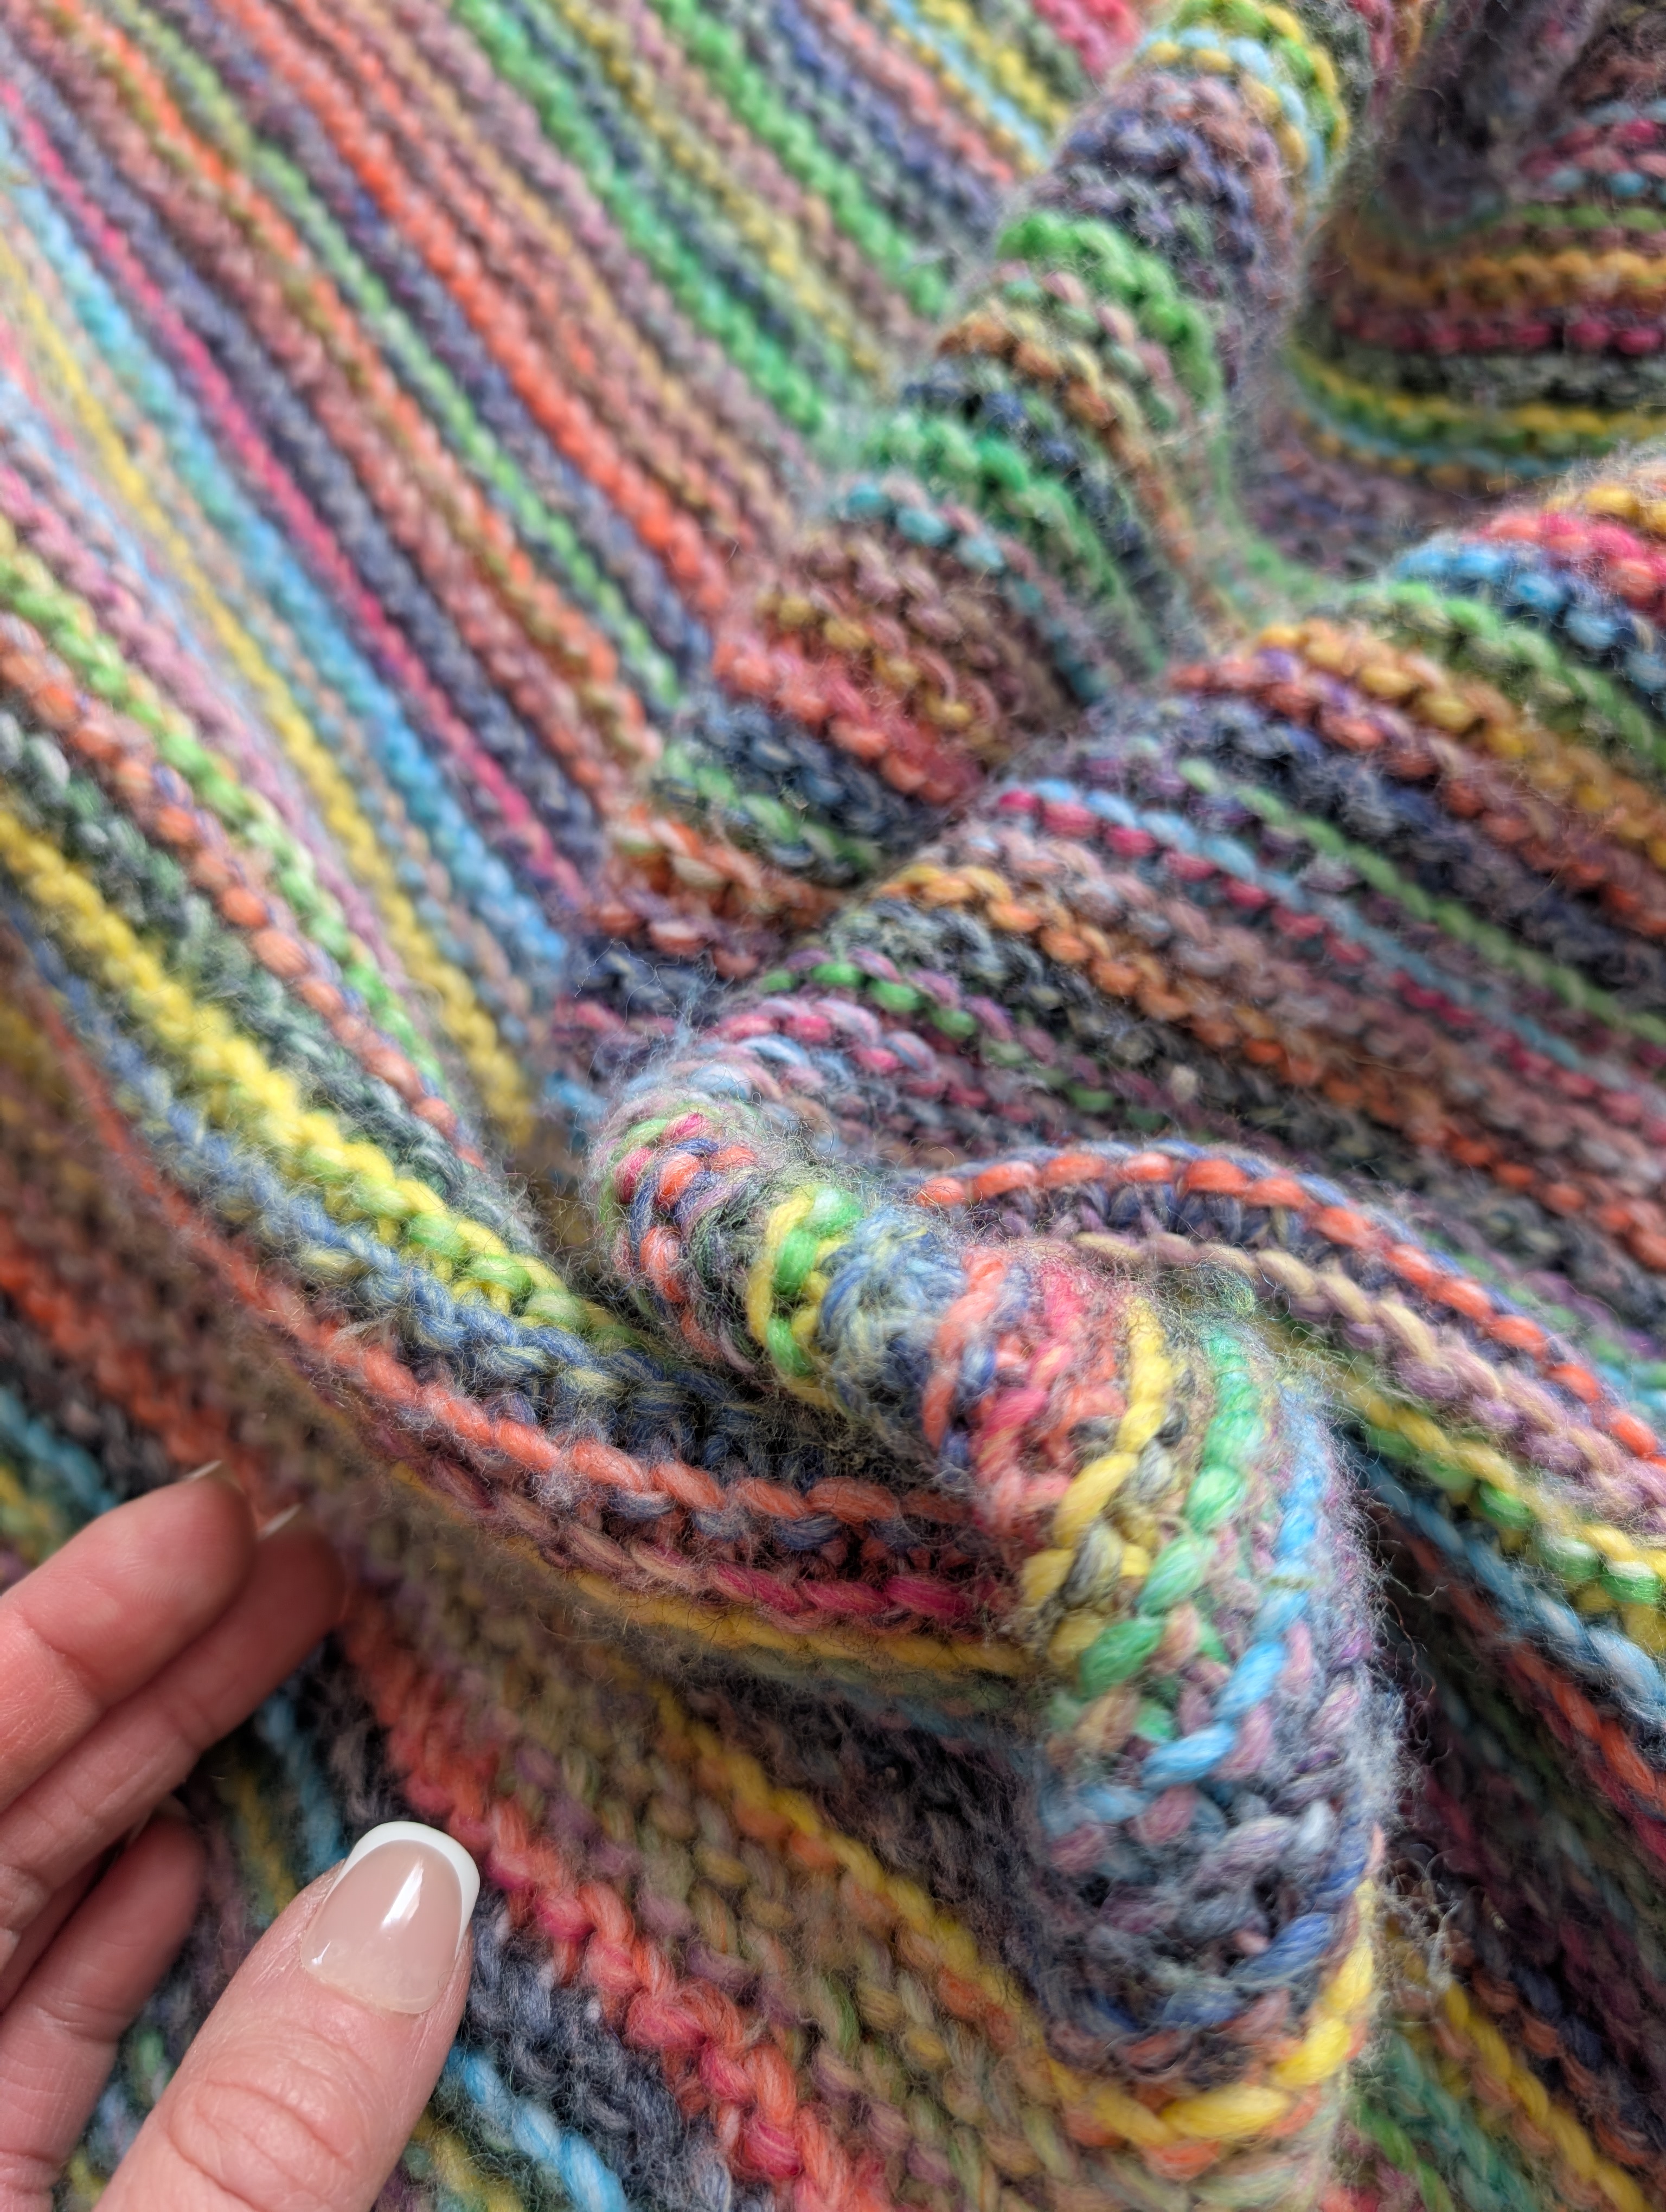
There is something so satisfying about the way those ridges hold color, especially with that vibrant, multi-colored chunky texture yarn. In knitting, this is created by knitting every row (or purling every row). It results in a reversible, stretchy, and squishy fabric that lies flat and doesn't curl at the edges.
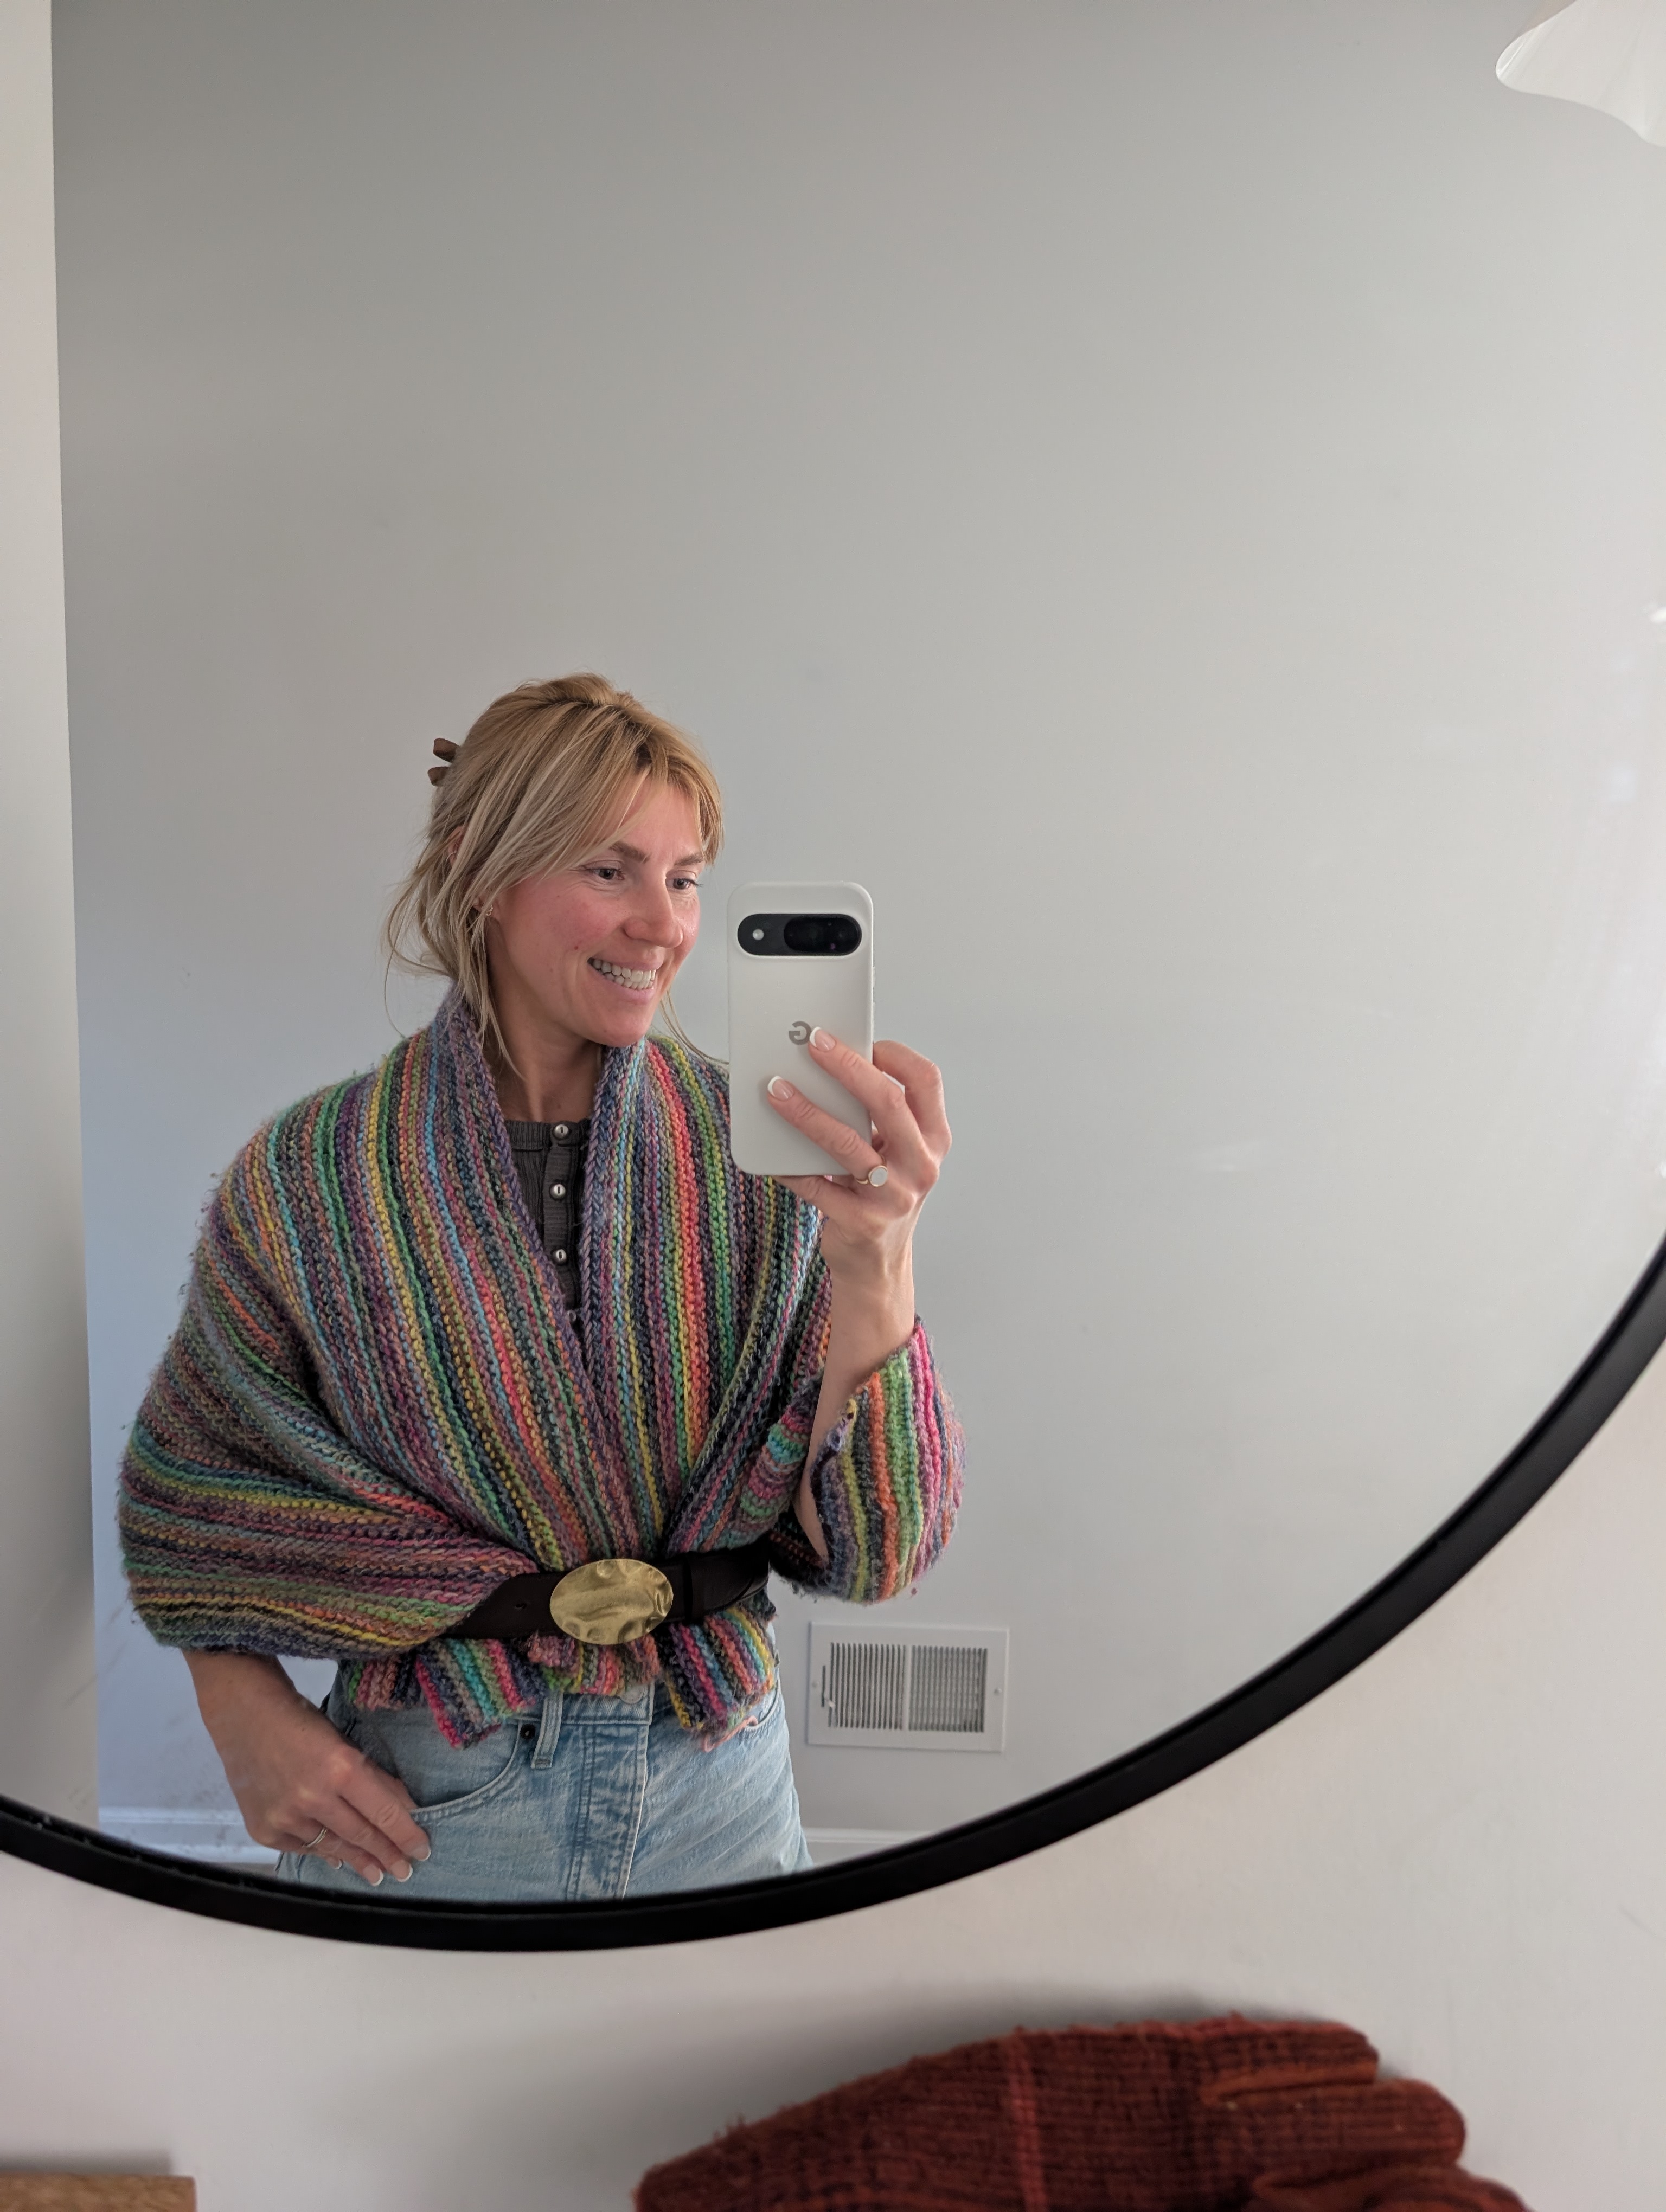
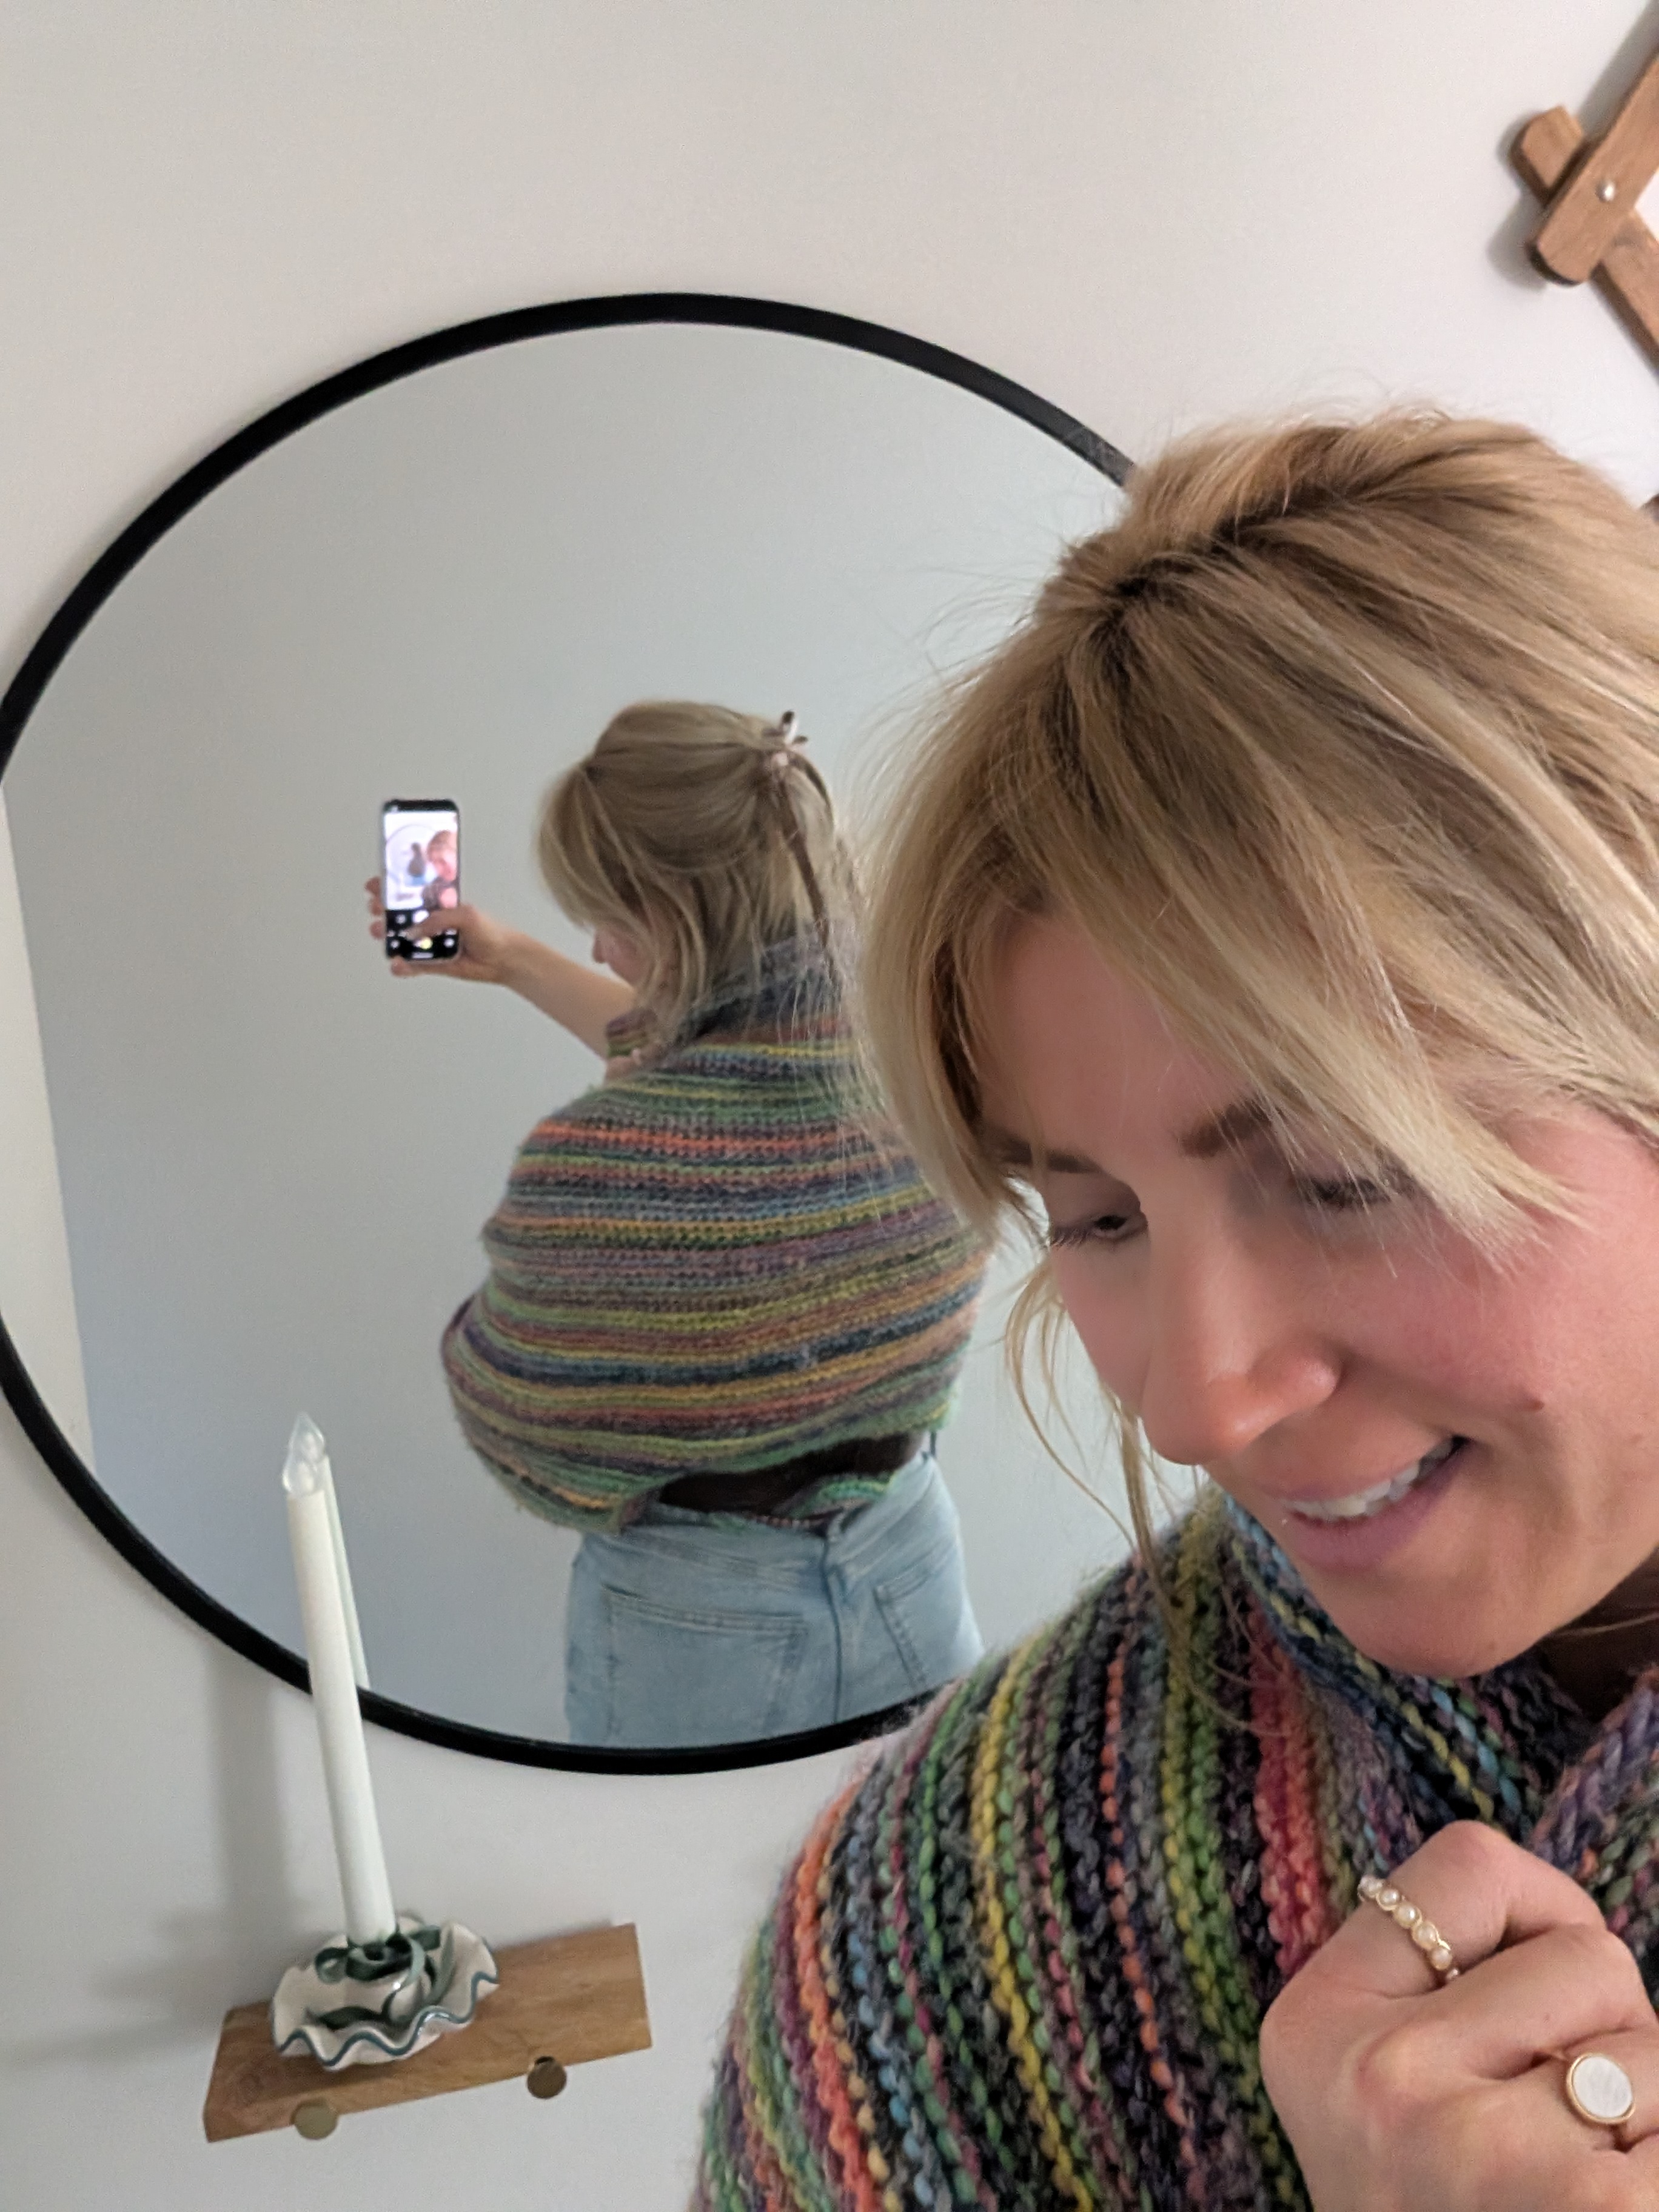
The Direction: Vertical Construction
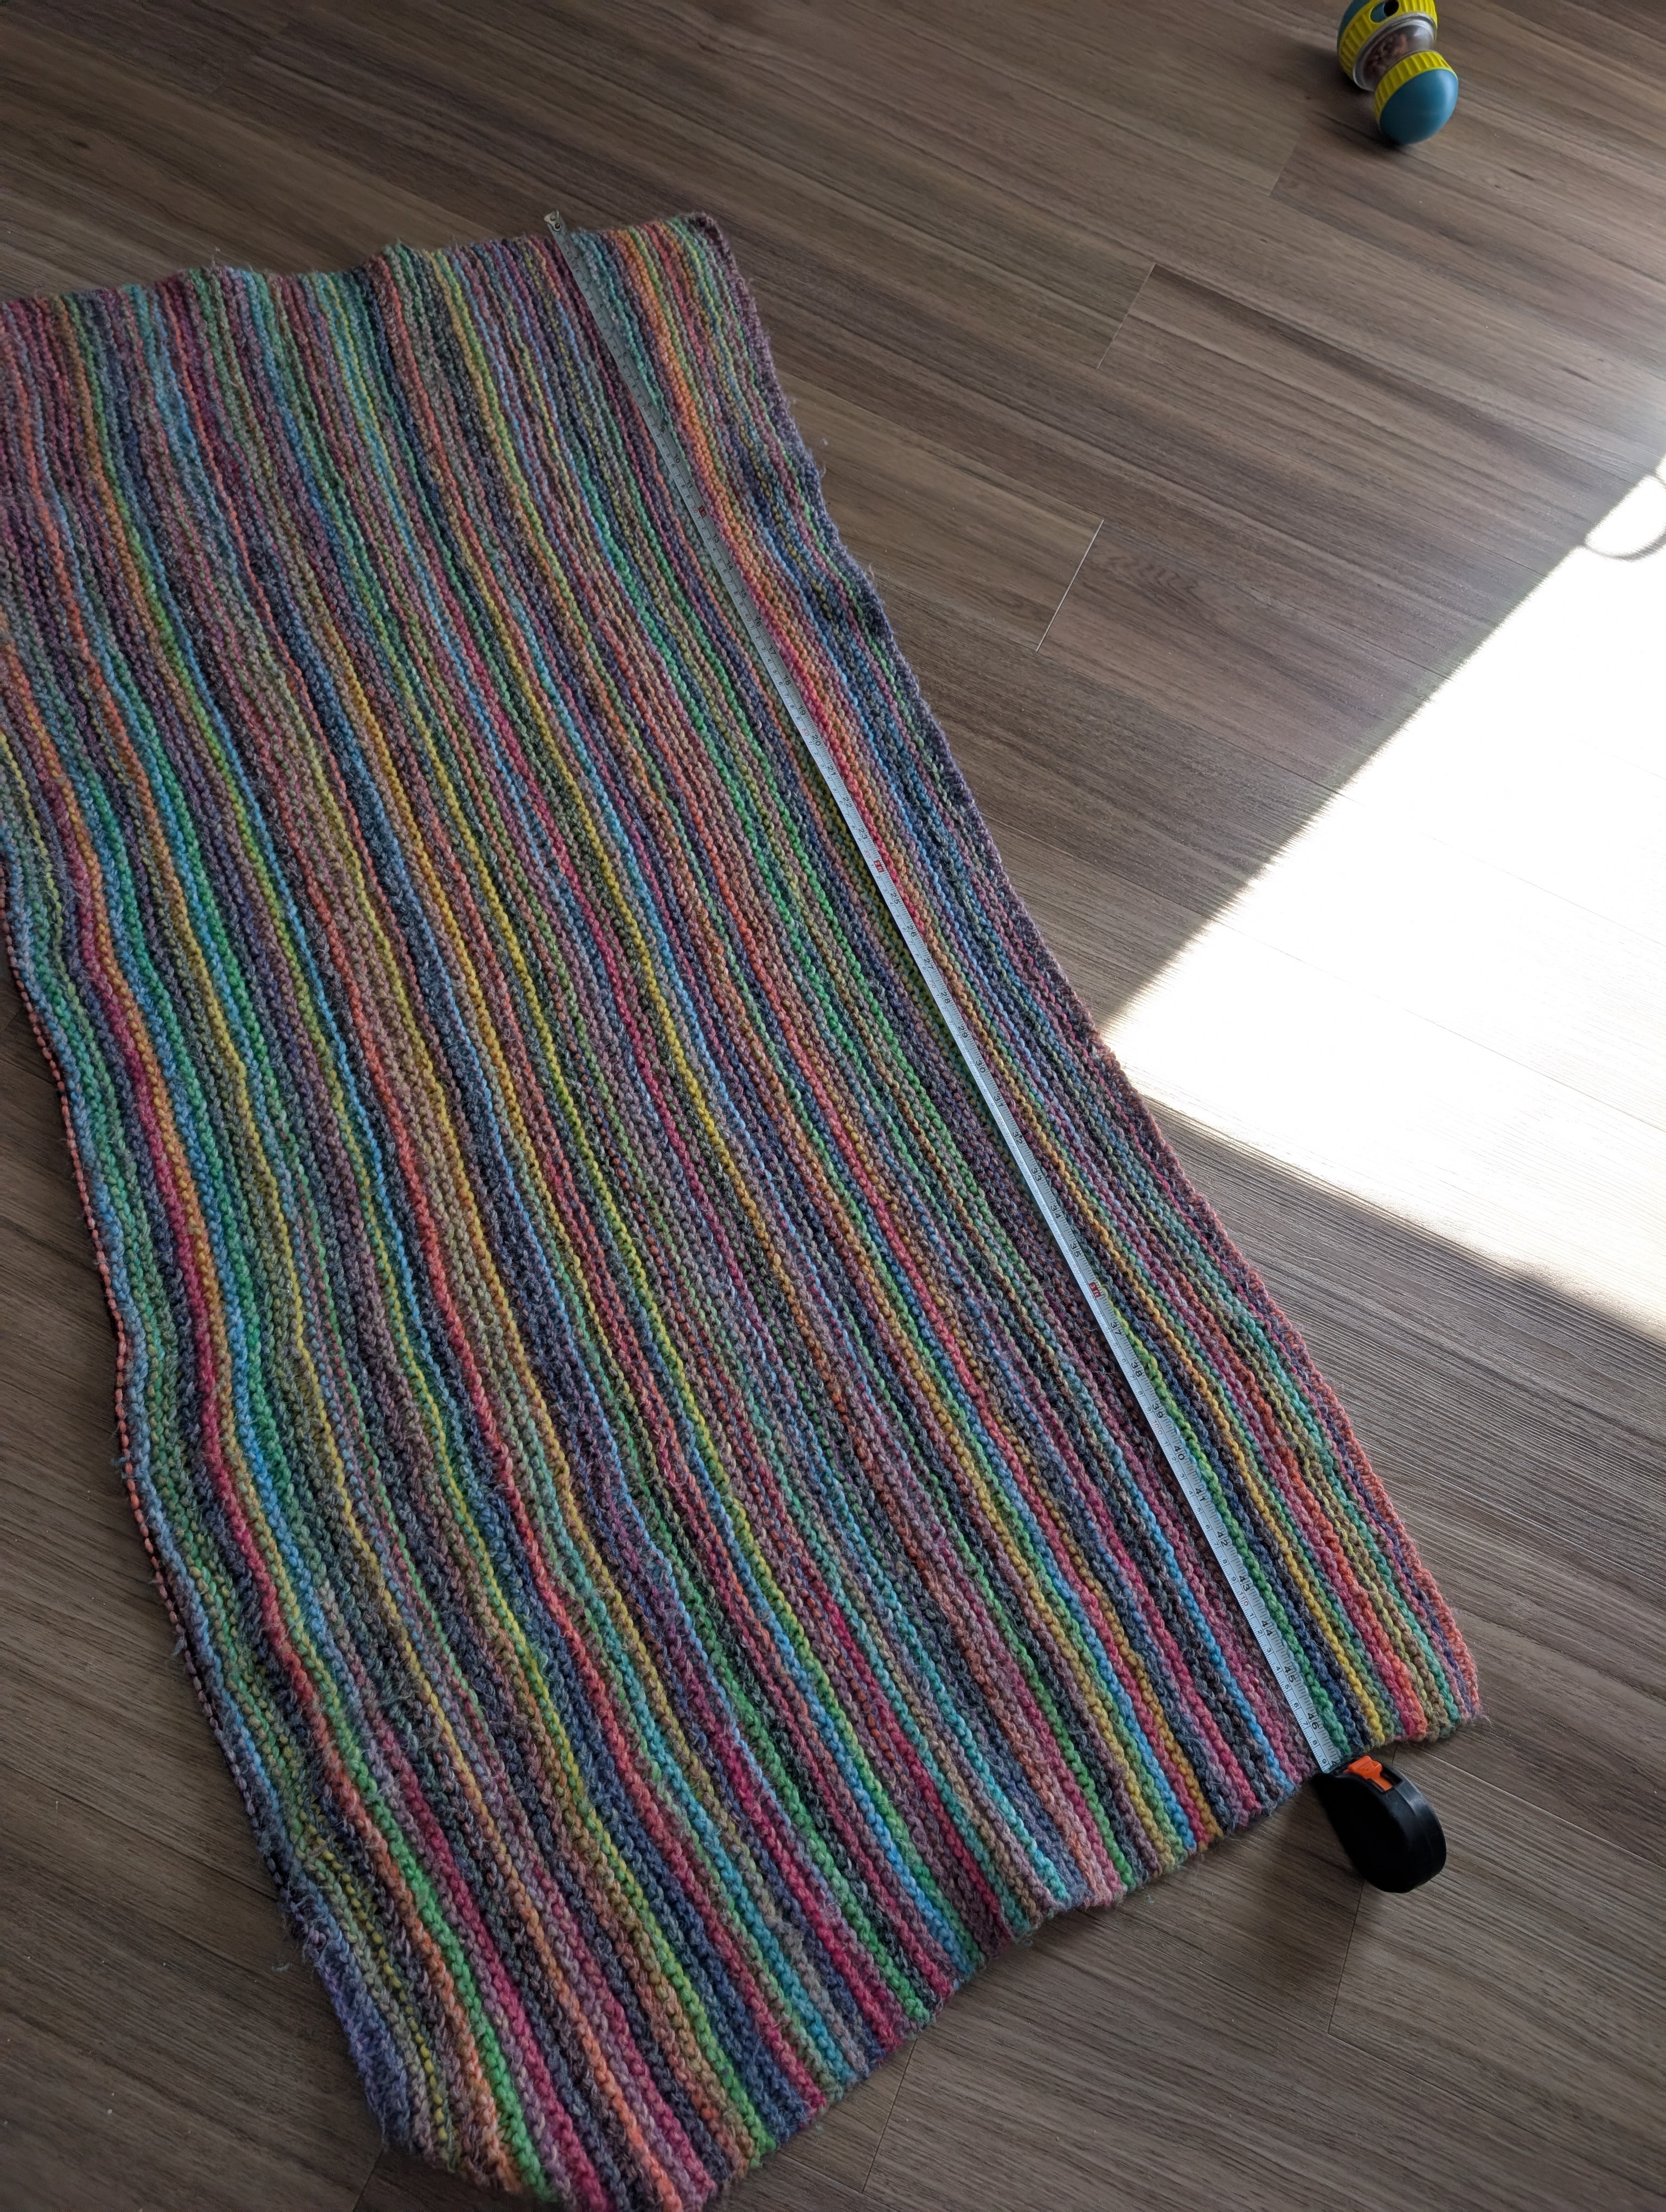
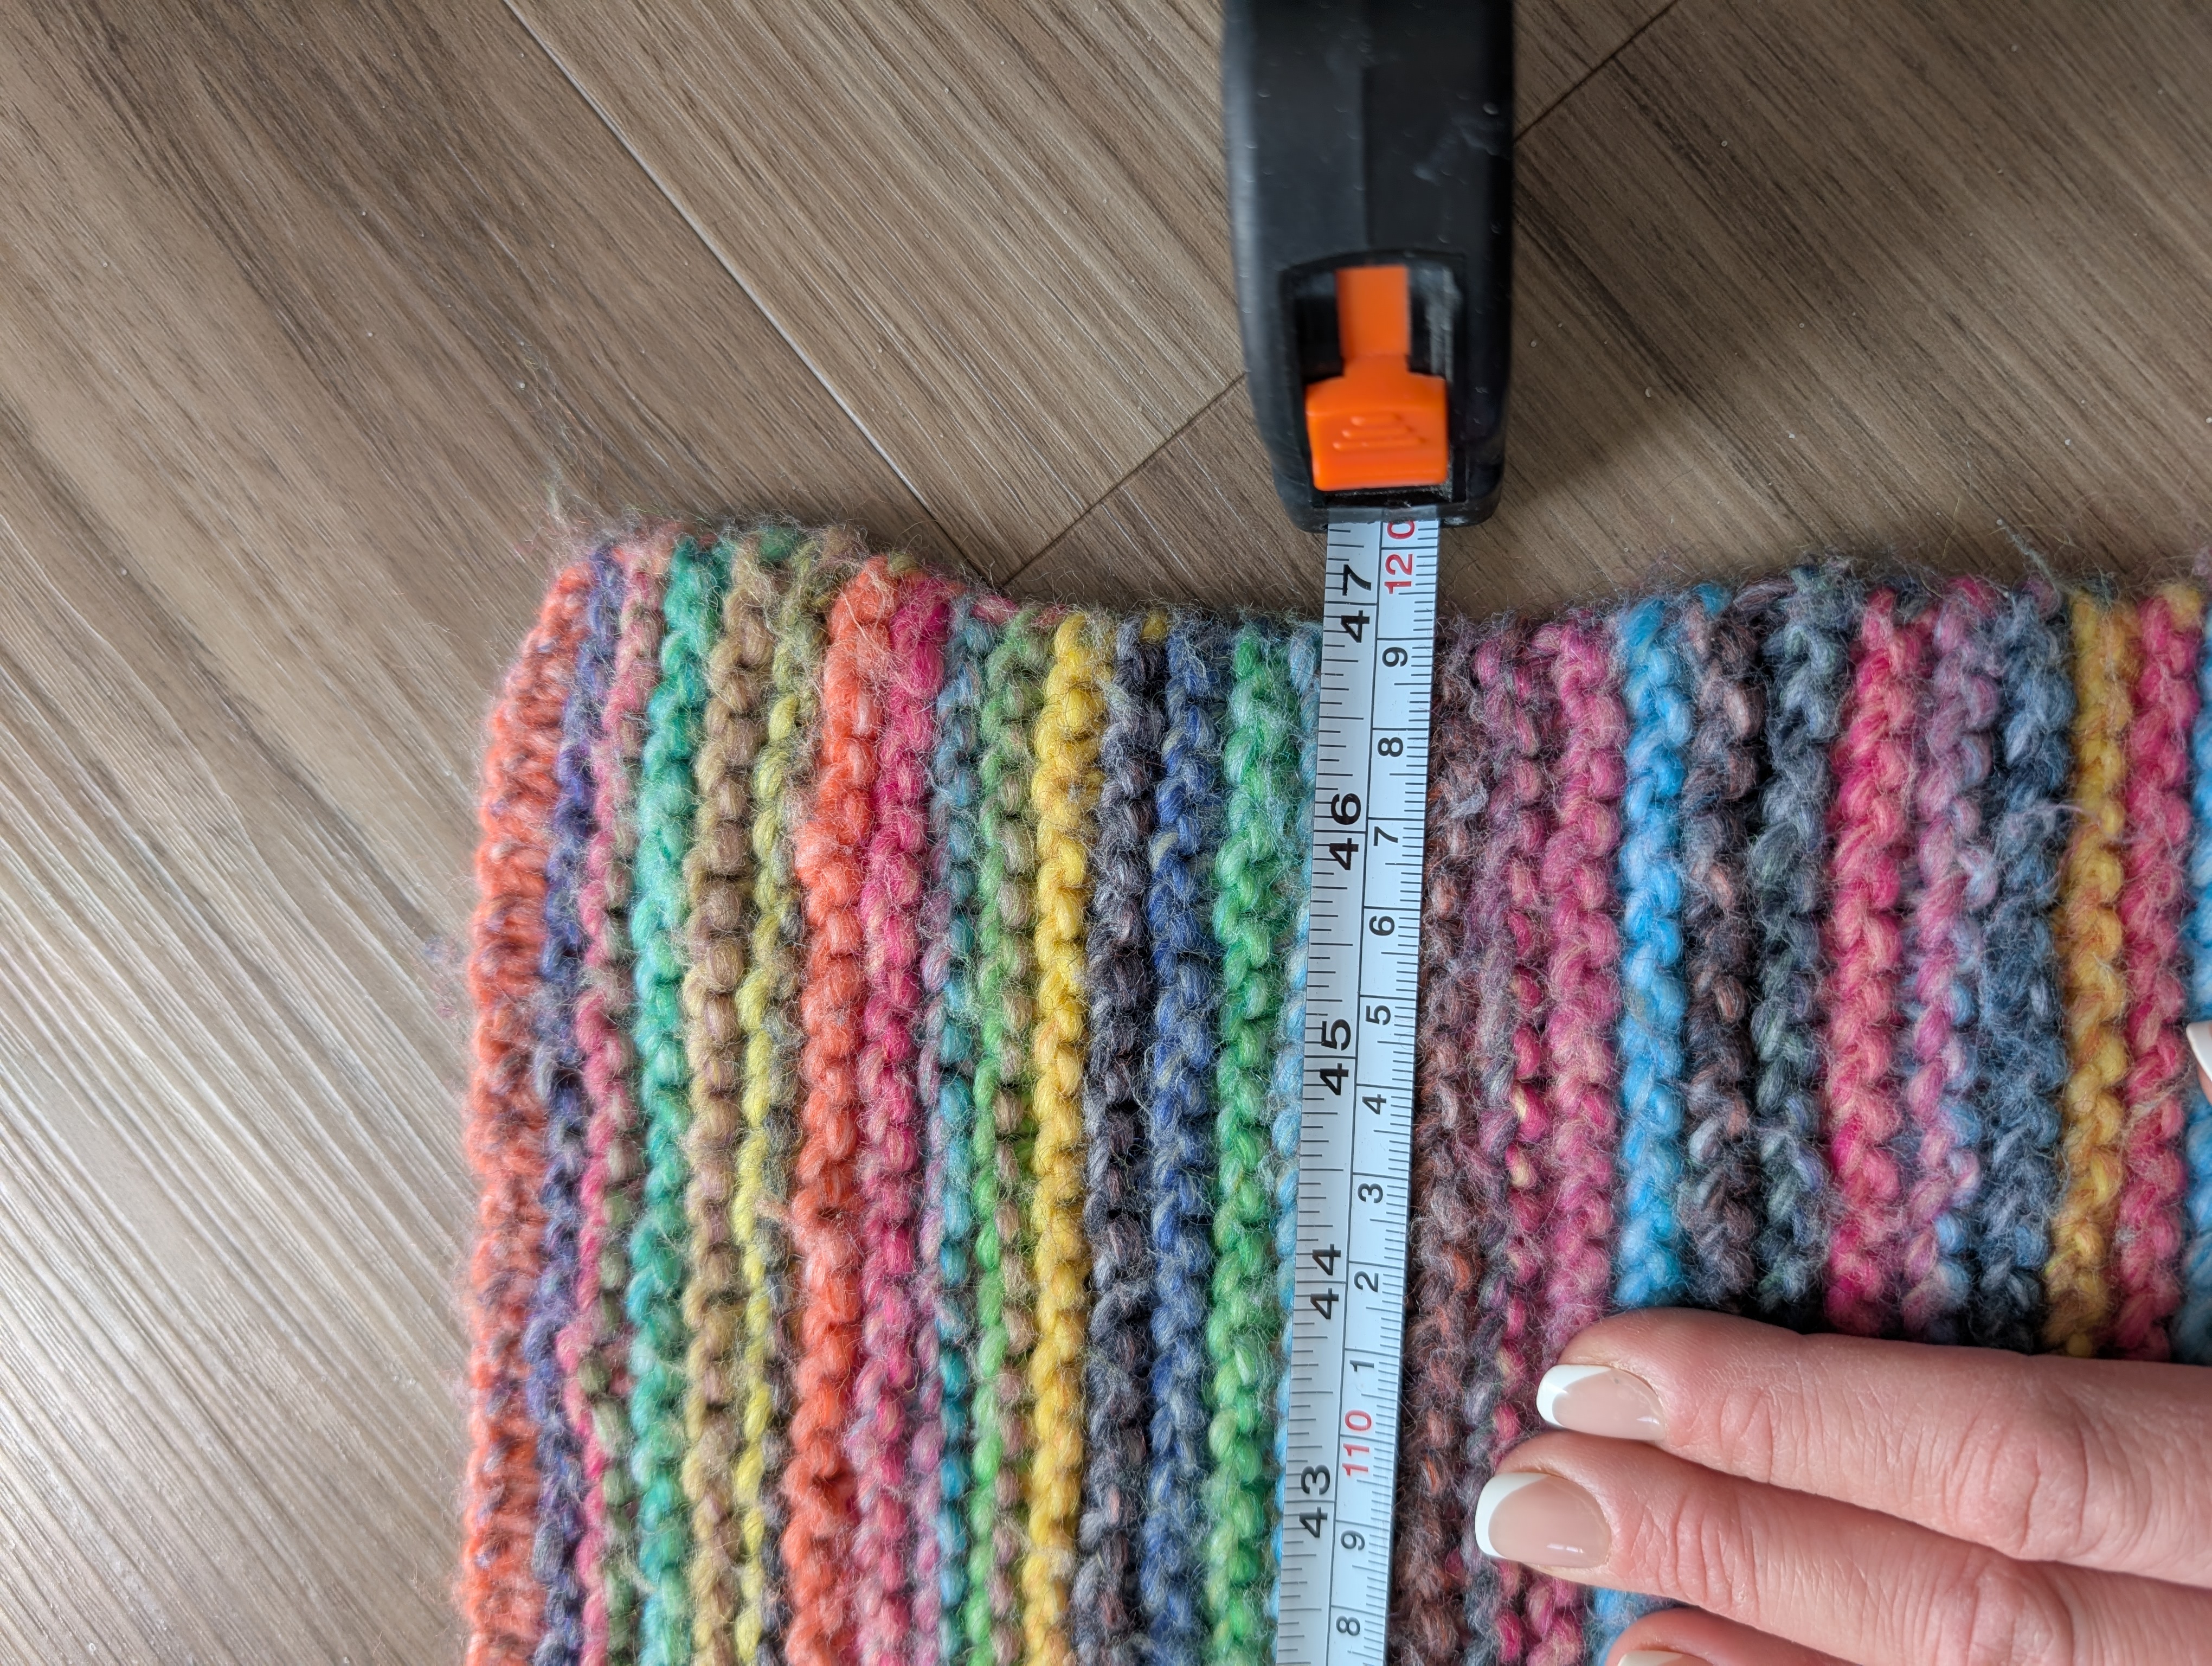
While most knitting grows from bottom to top, I decided to knit this piece working sideways. This means I casted on a large number of stitches (the full length of the blanket/poncho 47 inch, see the photo below) and knitted row after row. I used these Knitting Needles and this yarn Katia Yarn "Funny Azteca" ColourOrange-Green (#200) I love this brand, they have such a fab variety of all kinds of yarns (made of wool and cotton) and this one has a fantastic rainbow colorway where the dye changes slowly over time so you don't have to change colors every two rows of different yarns. I love this colors ( Funny Acteca Colour Orange-Green (#200) and the feel of this yarn, it glides through your fingers and over the needles.

Step A: Cast On
This puts the initial loops onto your needle. In my tutorial below I'm using the "Long Tail Cast On" or so called " Slingshot cast on'' which is the most popular.
Step B: The Knit Stitch (The Workhorse)
- Insert: Push the right needle into the first loop on the left needle from front to back (making an "X").
- Wrap: Wrap the yarn around the back needle counter-clockwise.
- Pull Through: Use the tip of the right needle to bring that wrap through the loop to the front.
- Slide: Slide the old loop off the left needle. You now have a new stitch on the right!
Step C: Repeat
Continue knitting until the left needle is empty. Turn the work (swap the needles in your hands) and knit the next row. It took me about 3 weeks to finish it! it might take longer or faster depending how much time you eager to spend daily knitting. I started it the day after the yarn arrived as I couldn't wait to play with the colors ☺️
Thank you so much for visiting and have fun with your knitting project!
If this tutorial helped you get started, follow me on Instagram ! And if you’ve finished your project, I’d love to see it—feel free to share your results below.
Leave a comment and let me know how it went at [email protected]